
Son Haberler
SPOR BAHIS
Haberler

CASINO BAHIS’LERI


Hepsi Bir Arada
View All
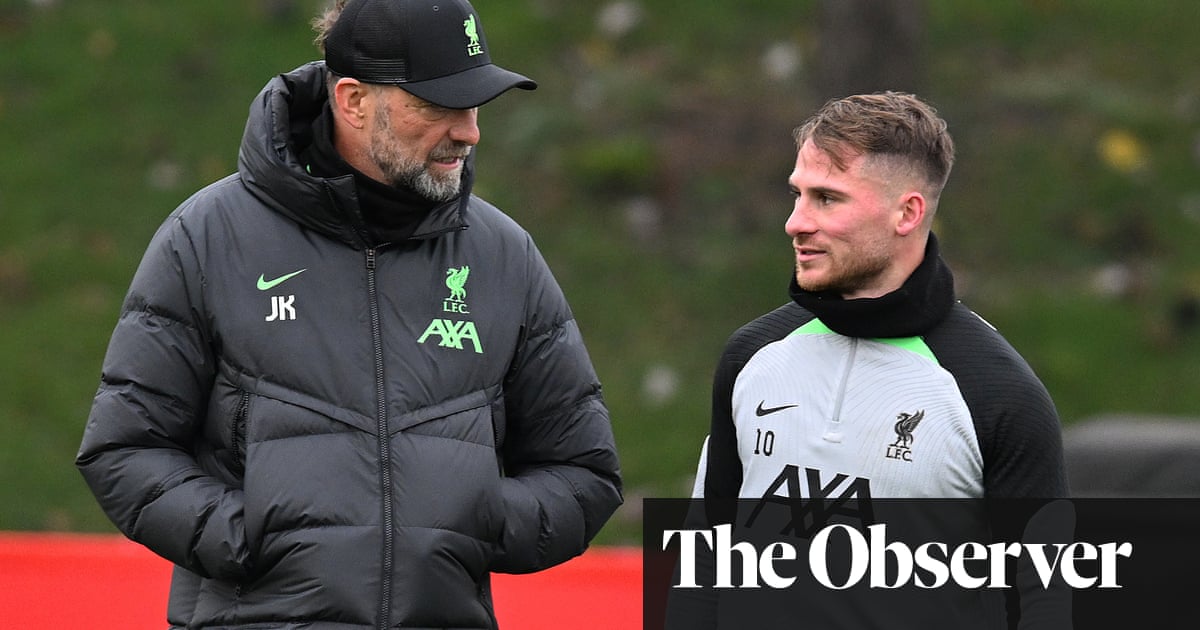
Kadro derinliği eksikliği, Arsenal’in şampiyonluk arayışında ipte yürümesine neden oluyor | cephanelik
ABu sefer Arsenal transfer dönemini kazanamadı, bu yüzden Premier Lig'e taşınmak zorunda kaldılar. Kazanılması gereken maçlar hakkında konuşmak için henüz çok erken ancak Emirates'teki çoğu…


Corporate News
View All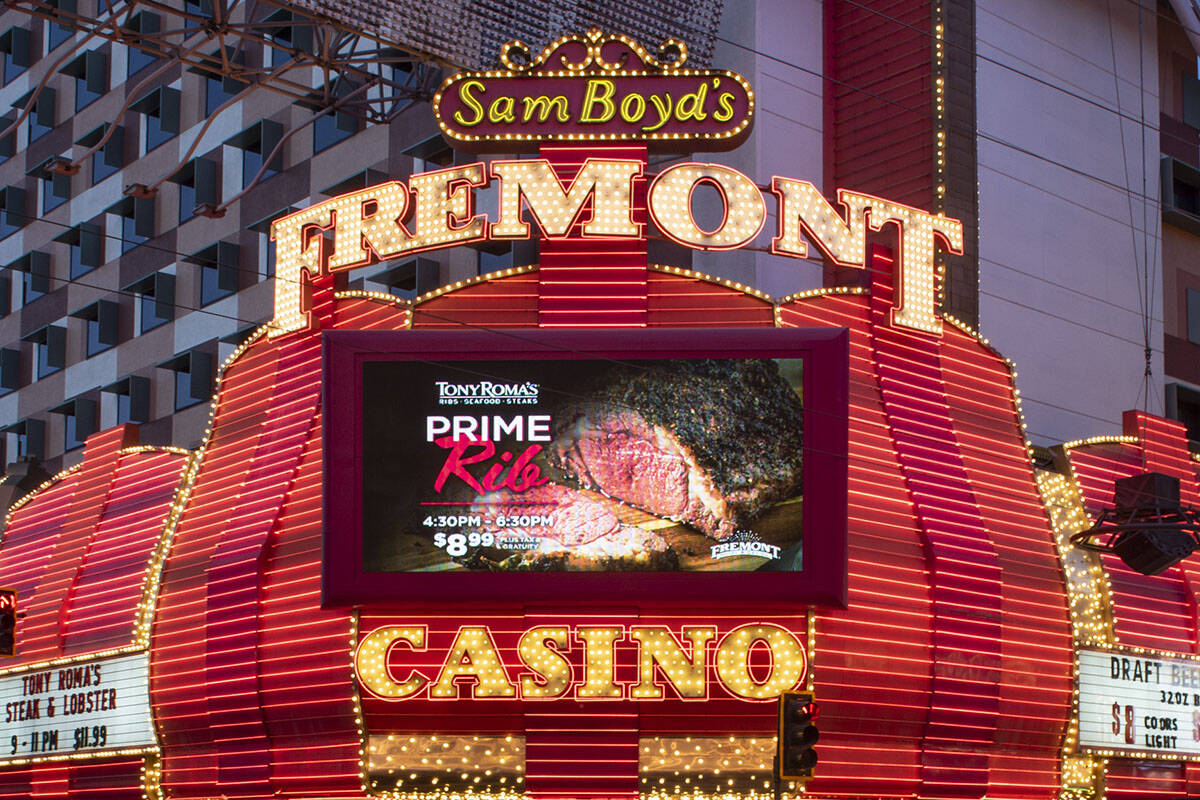
Son Haberler
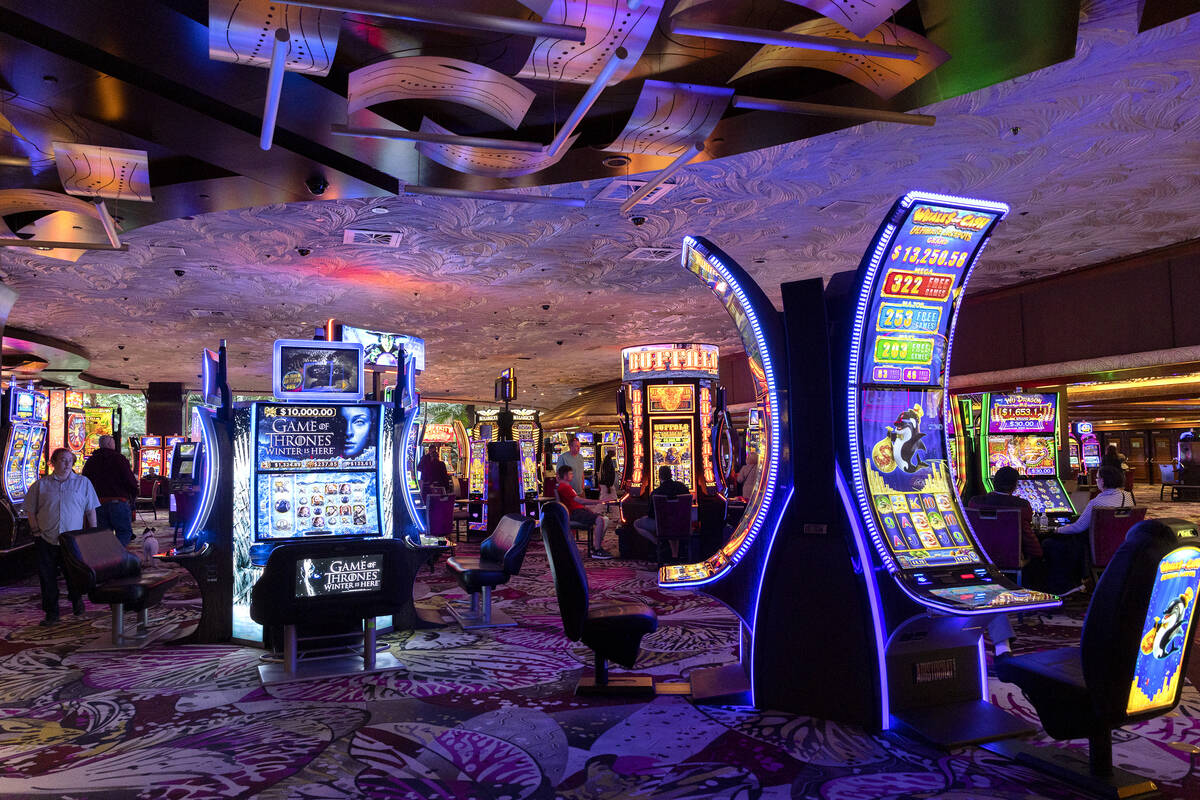
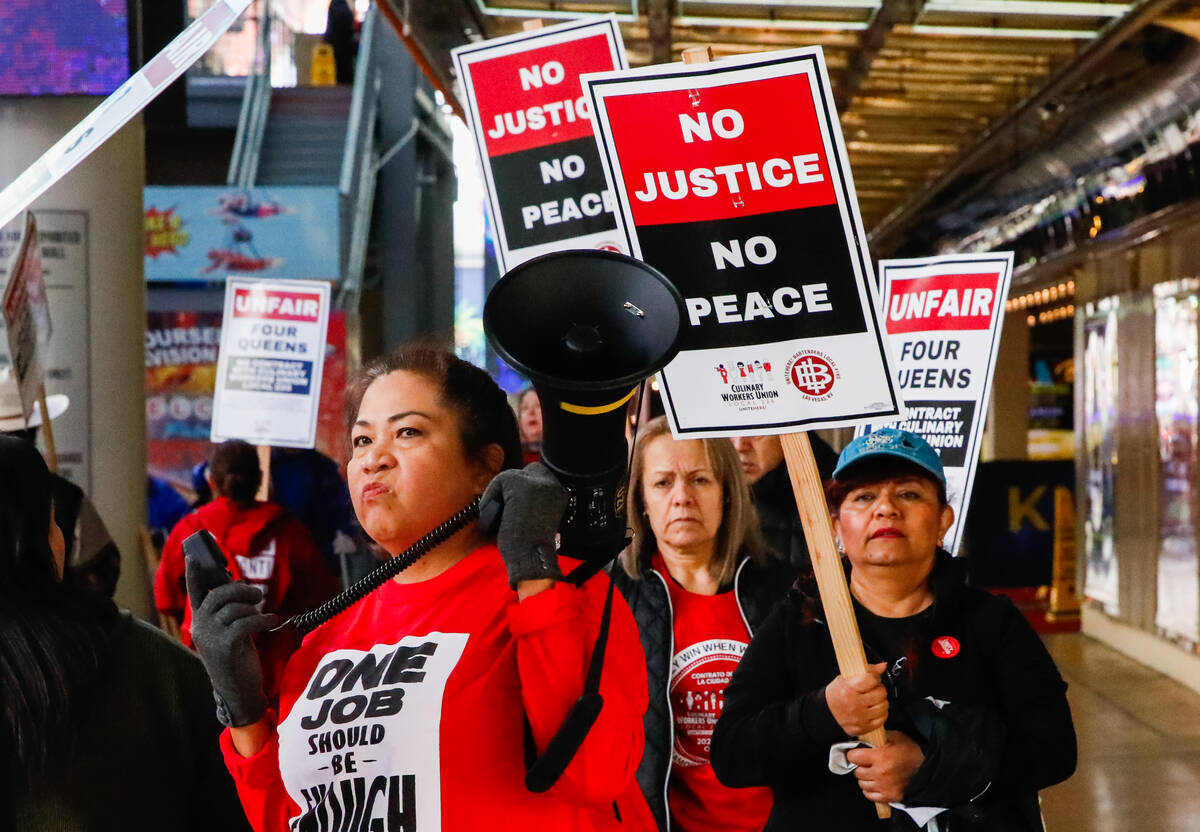
Las Vegas Şehir Merkezindeki Kumarhaneler Culinary Union ile Anlaşmaya Vardı | Kumarhaneler ve oyunlar
Boyd Gaming'in sahibi olduğu şehir merkezindeki iki kumarhane, Culinary Union Local 226 ile bir gecede beş yıllık geçici bir anlaşma yapmayı kabul etti. Anlaşma, Fremont…
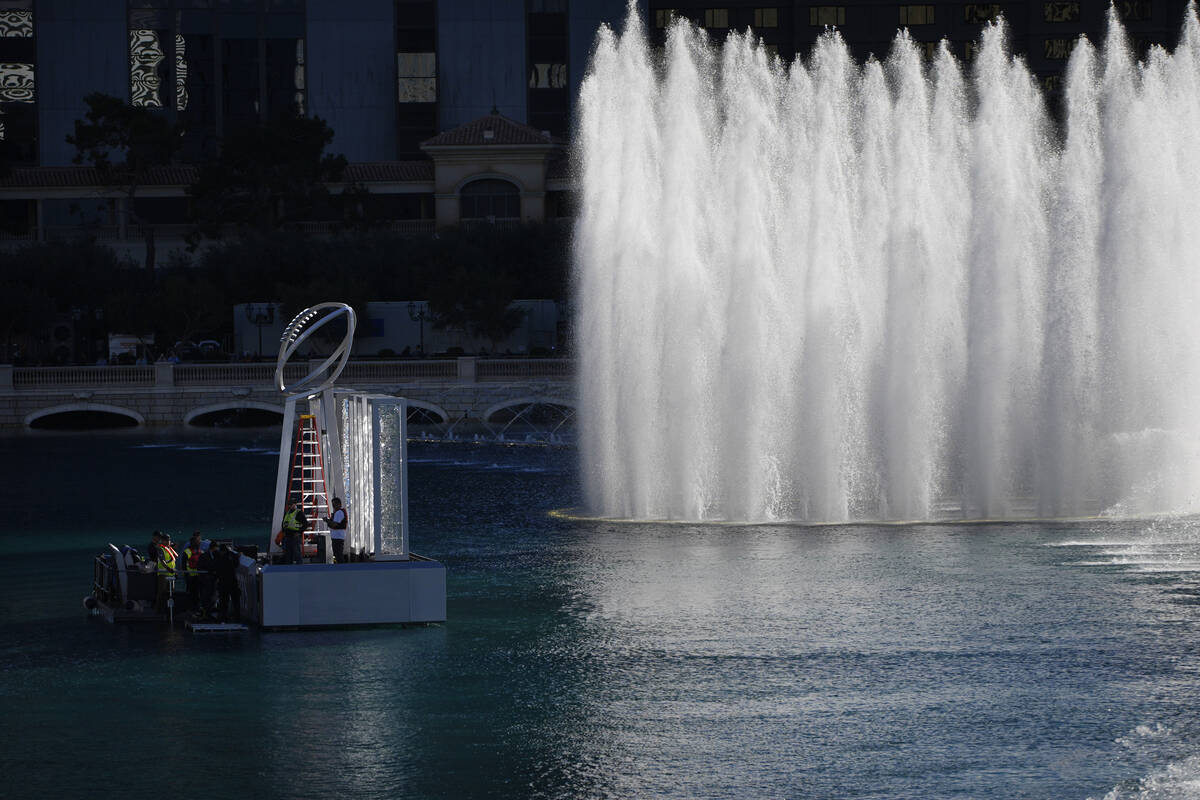
Las Vegas Super Bowl im Mittelpunkt der Sport- und Unterhaltungswelt | Super Bowl | Sport
Der Super Bowl 58 – der erste, der in Las Vegas ausgetragen wird – ist mehr als nur ein Meisterschaftsspiel im Football. Es wird ein…